Installing a pool is a thrilling but intricate process that involves meticulous planning and execution. In this manual, we’ll take you through the pool installation steps, providing an elaborate inground pool construction timeline from the beginning to the end.
You’ll find out about the crucial phases, which involve pre construction, excavation, structural framework, and finishes. We’ll also discuss important topics like pool permit requirements, pool plumbing and electrical installation, and the pros and cons of gunite vs fiberglass pools. This step-by-step guide will keep you on schedule and prevent typical swimming pool problems, allowing for a trouble-free and successful pool installation.
Pre Construction: Design, Permits & Prep Work
The initial stage of any pool installation is laying a strong foundation by being meticulous with design and preparation. This involves selecting the appropriate pool type and size for your backyard, your preferred style, and your finances. A close examination of concrete vs fiberglass vs vinyl pools will assist you in making a well-informed decision regarding the materials that suit your requirements.
At this stage, you will also be required to obtain the required permits, which will depend on your area of residence. In Georgia, factor in the average permit timelines which may be subject to HOA approvals or local codes. In addition, take into account utility markouts to avoid plumbing or electrical issues once the digging commences. Proper planning at this point will make sure that the process runs as intended and leaves you well-equipped to handle the remaining construction.
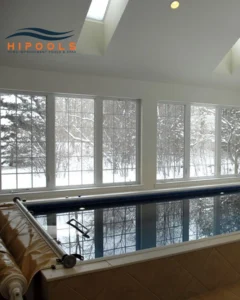
HiPools: Georgia’s Trusted Partner for Seamless Pool Installation Timelines
With over 10 years of expertise in custom pool design and installation across Georgia, HiPools’ certified APSP and ICC team has successfully delivered 400+ projects in Milton, Alpharetta, and Johns Creek. Our deep understanding of Georgia’s clay rich soil and local building codes ensures every phase of your inground pool construction timeline meets the highest industry standards.
Phase 1: Excavation & Groundwork (3-7 Days)
The initial physical process in your pool installation is excavation, which entails digging out the ground for your pool. This process will normally take around 3-7 days, depending on the pool size and excavation complexity. Heavy equipment such as excavators and bulldozers will be employed to dig the hole based on the pool’s design specifications.
At this stage, it’s essential to do soil testing in order to know the nature of the soil clay vs sandy soil which can affect construction. For instance, clay soil might be harder to drain and might need extra preparation. One possible cost overrun to watch out for is rock removal fees, particularly if your land is high in underlying rock or hard soil. Proper groundwork ensures the pool’s foundation is stable and prevents future issues like settling or shifting.
Phase 2: Structural Framework (5-10 Days)
After excavation, the second phase of your pool installation is building the structural framework of your pool. This process normally takes around 5-10 days and includes the process of installing steel rebar to reinforce the structure of the pool. The rebar is placed based on your pool’s design and is crucial to make the pool durable and resistant to cracking.
At this stage, the plumbing and electrical rough ins are also put in. This involves running PVC pipes for water circulation, filtration, and drainage, along with wiring for pool lights and other electrical equipment. Proper PVC pipe sizing should be used to prevent future water flow problems.
Prior to pouring the concrete shell, the contractor will hold inspection checkpoints to make sure all is in order. Mistakes at this stage could lead to structural problems or delays, so detail is important.
Click for more information on pool electrical requirements
Phase 3: Shell Construction (Varies by Type)
The shell construction varies depending on the type of pool that is being installed. For Gunite pools, this is done by spraying concrete over the rebar framework, creating a solid, hard shell. Gunite pools require a 28-day curing time during which the concrete hardens and sets. It’s best to allow this curing to occur before doing any other work to ensure that the shell is hard and stable.
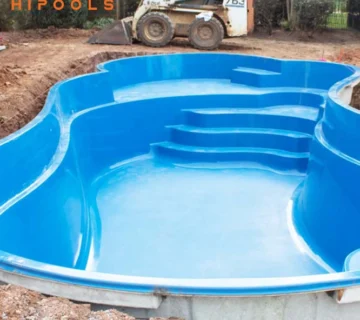
For fiberglass pools, the shell is pre-formed and transported to the site by crane. The fiberglass shell is then placed in the hole that has been dug and backfilled with backfill material. This is typically faster than Gunite pools, but still requires attention to detail when installing.
For vinyl-lined pools, the walls are constructed on-site and then lined with a vinyl liner. This takes extra precaution to avoid damaging the liner and to fasten it correctly to the pool walls.
| Criteria | Gunite | Fiberglass | Vinyl |
|---|---|---|---|
| Lifespan | 30+ years | 20-25 years | 10-15 years |
| Timeline | 8-12 weeks | 4-6 weeks | 3-5 weeks |
| Customization | Unlimited | Pre-set shapes | Limited |
| Maintenance | Annual acid wash | Low algae risk | Liner replacement |
Phase 4: Finishes & Features (1-2 Weeks)
After the pool shell is installed, it’s time to focus on the finishes and features. This phase typically takes 1-2 weeks and involves adding the final touches that will enhance both the pool’s appearance and functionality.
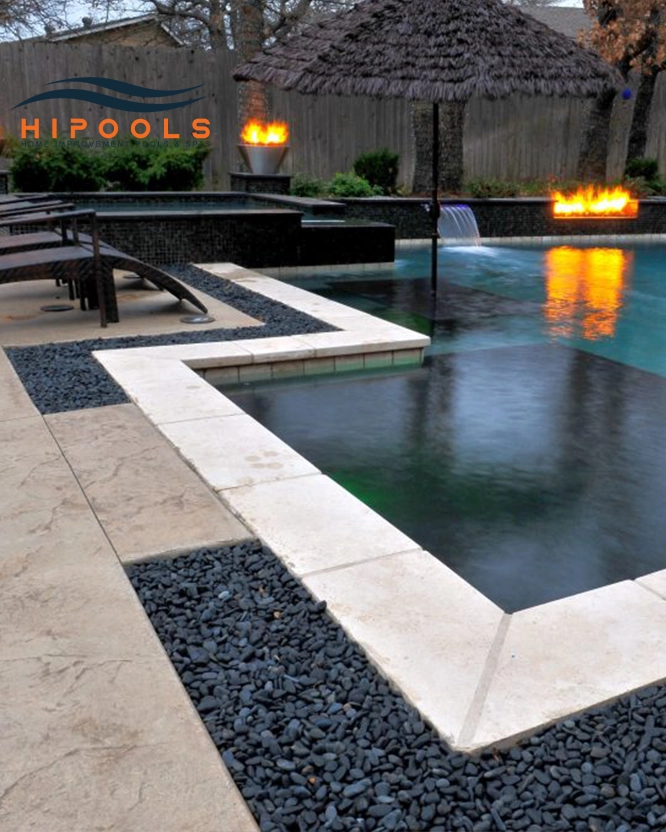
For tile and coping, you’ll need to choose from options like stone, glass, or ceramic tiles for the edges and around the pool perimeter. These finishes not only add aesthetic value but also help protect the pool from wear and tear. You’ll also decide whether to install a saltwater or chlorine system, both of which have different maintenance and chemical needs. Additionally, if you’re adding special features like waterfalls, lighting, or fountains, these will be installed and connected to the appropriate plumbing and electrical systems.
It is crucial that these features and finishes are properly installed for your pool’s long-term performance and aesthetics.
Phase 5: Decking & Landscaping (7-14 Days)
Now that the pool shell and finishes are installed, the process of decking and landscaping around your pool is the next step. This usually occurs in 7-14 days, depending on the materials chosen and the complexity of the design. There are several options for pool decking, including poured concrete, pavers, or travertine, each with its own benefits and cost considerations. You’ll want to choose a material that complements the aesthetic of your pool and offers durability and slip resistance.
In addition to decking, proper slope and drainage are critical during this phase to prevent water from pooling around the pool area. Good drainage ensures the longevity of your pool and landscaping. Finally, landscaping items like plants, trees, and grass are put in to finish the look of your pool area. Keep in mind, local safety codes for fencing and house-to-pool distance requirements may also need to be satisfied before completion of this stage.
Click here for Pool with Decking Ideas
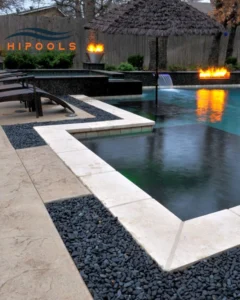
Filling & Startup (Critical 30-Day Period)
The final stage of the pool installation process is the filling and startup stage, which occurs to ensure your pool is ready for use. It typically lasts 30 days, during which some very important work must be conducted to ensure the proper operation of the pool.
First, your pool is filled with water, and this must be done gradually to prevent any structural stress. While it is being filled, initial chemical balancing is important in ensuring that the pH, alkalinity, and chlorine levels of the water are suitable. This will assist in avoiding water issues and ensuring that the swimming environment is safe.
Additionally, pool equipment, such as pumps and filters, will go through their break-in procedures. The proper settings for the pump and filters should be established to avoid premature wear and tear. Finally, don’t forget to register your pool’s warranty and keep a copy of the equipment’s specifications for later use. This phase ensures everything is operating effectively, setting up your pool for years of use.
| Phase | Key Tasks | Duration | Potential Delays |
| 1. Planning & Permits | Design approval, HOA/permits, utility markouts | 2-8 weeks | Municipality backlog, HOA disputes |
| 2. Excavation | Digging, soil/rock removal, grading | 3-7 days | Rain, hidden rocks/utility lines |
| 3. Structural Work | Steel rebar, plumbing/electrical rough-ins | 5-10 days | Inspection failures, material shortages |
| 4. Shell Construction | Gunite spraying (or fiberglass drop-in) | 1-3 weeks | Curing time (concrete), crane delays |
| 5. Finishes | Tile/coping, interior surface, features | 1-2 weeks | Custom tile backorders, weather |
| 6. Decking | Pouring/pavers, fencing, landscaping | 7-14 days | Concrete drying time, permit checks |
| 7. Startup | Filling, chemical balance, final inspection | 3-7 days | Water delivery delays, equipment defects |
Pro Tips to Avoid Delays
To maintain your pool installation smoothly and on track, keep these pro tips to avoid common delays:
- Weather Contingency Planning
Be prepared for some wiggle room on weather delays, especially on excavation and shell build. Be ready with a plan for handling rain, storms, or searing heat.
- Clear Communication with Contractors
Keep constant touch with your pool contractor to address any issue at an early stage. Ensure they are aware of your expectations and timelines.
- Get Proper Permitting
Get all necessary permits beforehand to avoid any bureaucratic delay. Approach local authorities to understand permit requirements and the typical time taken by them to process.
- Plan for Surprise Expenses
Be aware of potential cost overruns, such as rock removal or unforeseen plumbing issues, and have some buffer in your budget to account for them.
- Don’t Do Your Own Electrical Work
Electrical work should always be performed by a professional. Trying to save money by doing it yourself can lead to delays and safety concerns.
- Double Check the Pool Design
Before starting construction, thoroughly study the pool design and layout. Any changes in the design at the last moment can lead to delays and additional costs.
- Ensure Proper Access to the Site
Ensure proper access to the area of pool installation for materials and equipment, since improper access may lead to delays, especially while excavating.
By recalling these tips, you can keep your pool project up to schedule and minimize delays or unexpected costs.
Ready to make a splash?
Pools are an excellent upgrade, but without the right planning, it can be a costly headache. From budget surprises to maintenance requirements, the pitfalls are real but they’re also avoidable.
✅ Plan wisely: research costs, choose the right pool, and hire reputable pros.
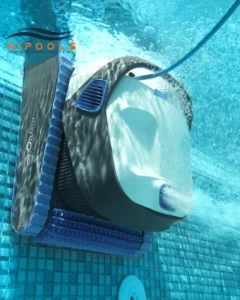
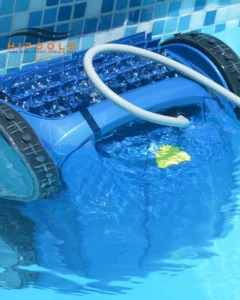
✅ Clean smart: invest in an automatic cleaner and stay on top of repairs.
✅ Protect your investment: keep safety paramount and consider local resale trends.
Here at HiPoolss, we make pool ownership easy and stress free. We provide Georgia homeowners with custom design to maintenance so you can just enjoy the water.
Ready to make a splash? Get your free estimate today!
We’ll design a pool that’s worry free, safe, and fun.
FAQs on Pool Installation Timeline
1. How long does inground pool construction take in Georgia?
The timeline varies by pool type:
- Fiberglass pools: 4-6 weeks (fastest due to pre-made shells)
- Gunite/concrete pools: 8-12 weeks (includes curing time)
- Vinyl-lined pools: 3-5 weeks
Delays often occur due to Georgia’s clay soil, permit approvals, or weather. 🔗 Jump to Timeline inground pool
2. Do I need permits for pool excavation in Milton, GA?
Yes! Milton requires:
- Building permits (for pools deeper than 24″)
- Fence/barrier compliance (per Georgia’s Uniform Swimming Pool Code)
- HOA approvals (if applicable)
Our team handles all paperwork – you focus on picking pool tiles!
3. What impacts the pool plumbing and electrical timeline?
Key factors:
- Soil type: Clay in North Fulton slows trenching.
- Local codes: NEC Article 680 compliance adds 2–3 days.
- Custom features: Waterfalls or smart systems extend wiring.
Pro Tip: Schedule inspections early to avoid delays.
4. Can pool installation happen during Georgia’s rainy season?
Yes, but with precautions:
- Excavation pauses during heavy rain to prevent soil collapse.
- Gunite curing requires 48+ hours of dry weather.
We monitor forecasts and adjust timelines proactively.
5. How does pool type affect long-term maintenance?
- Gunite: Weekly brushing + annual acid washes.
- Fiberglass: Low upkeep (non-porous surface resists algae).
- Vinyl: Avoid sharp objects; replace liner every 5–7 years.
🔗 Compare Pool Types

No comment